

Each week, our team provides tech support to dozens of Innovatus clients. We thought that we’d share one scenario that provides a strong foundation of troubleshooting common ultrasound issues. Let’s test your ultrasound IQ.
Let’s set the stage
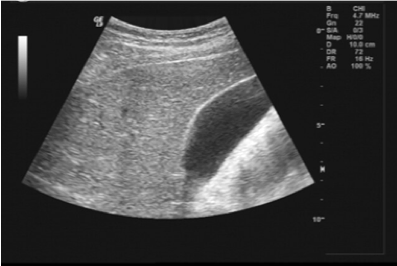
A client exchanged their ultrasound probe (Probe 1), 2-months earlier. According to an echo-tech, Probe 1 had performed perfectly and provided clear images for about 1.5 months. Currently, the complaint is that Probe 1 provides grainy images. Innovatus provides a 1-year warranty, so our customer care team set up a warranty order and supplied a loaner (Probe 2). The client received Probe 2 and placed it into service. The following day, the echo-tech placed a service call because Probe 2 had grainy images. Head-scratch.
- Probe 1: Grainy images
- Probe 2: Grainy images
It’s possible, but highly unlikely, that two probes of the same model would experience the similar problems reported by the same user, especially when our loaners are fully restored and classified as finished goods. All products, whether customer owned or Innovatus inventory, undergo multiple in-process quality tests, a final outgoing functional test, and are accompanied by a Certificate of Conformance.
Typically, clients send-in their product upon receipt of a loaner. In this instance, Probe 1 as well as Probe 2 were still on-site.
Question: Should another loaner be sent to address the client’s concern?
At this point, our Customer Care team pulled in ultrasound veteran, Ted Lucidi, who attempted to contact the customer right-away. Ring…Ring…No answer, Leave a voicemail?…Mailbox full. We couldn’t even begin a fun game a phone tag.
Ted sat down, composed his thoughts, and provided the best tech support that email could provide. We re-iterated the scenario above, provided some possible causes, added some troubleshooting tips, and asked for a call back at the client’s convenience. Late the next day, the client reached out. He and the echo tech did some troubleshooting.
- Both Probe 1 and Probe 2 provide grainy images on scanner A.
- There is a scanner down the hall (Scanner B), with another probe of the same model which provides good images.
- It is believed that Probe 2, when connected to Scanner B, also provided good images.
What could be going on?
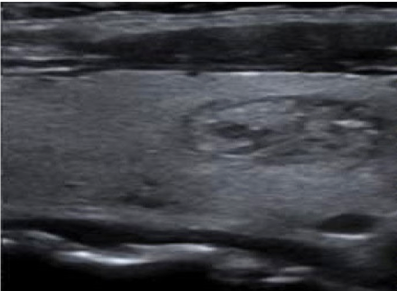
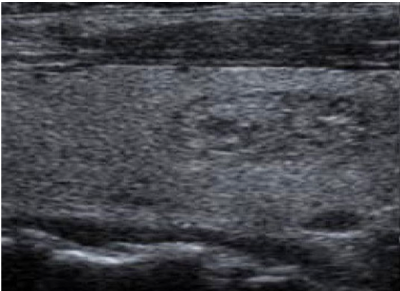
Assumption 1: Image quality was being tested on a tissue mimicking phantom
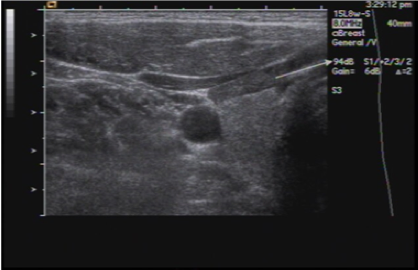
It was not. Due to variations in human anatomy, overall image quality should never be assessed using patient images. A tissue mimicking phantom offers consistency, and can help remove multiple variables from a diverse and complex troubleshooting tree.
Rule 1: Always use a phantom to assess image quality

Assumption 2: If two probes of the same make and model experience similar phenomena when connected to the Scanner A, the issue is most-likely related to Scanner A.
To check this assumption, the next steps would be
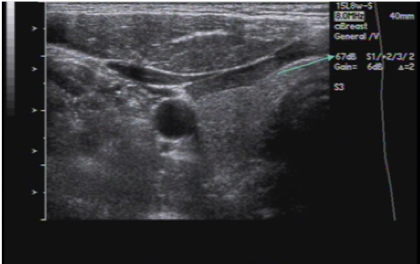
- Connect both Probe 1 and Probe 2 to Scanner B, and
- Perform a side-by-side image quality comparison using identical settings
- This requires using two probes of the same exact model, being connected to the same system console, using the same identical system settings, imaging on a tissue mimicking phantom.
Rule 2: Perform a side-by-side image quality comparison using identical settings
Assumptions 3, 4, and 5: Both Scanner A and Scanner B have identical user presets installed…And the same preset is being used on both scanners…And none of the presets have been changed or have become corrupted.
This may be difficult to determine without some investigation. A system preset is a single menu selection that pre-configures dozens (if not up to a hundred) user-based settings on the scanner. A preset tailors the scanner’s (and probe’s) performance for a particular patient study. The preset’s name is typically listed in the header of the image, such as carotid, adult echo, or abdominal. The challenge with presets is that they are software based and so they can become corrupted, edited, altered, or even deleted. To rule out more variables…
Rule 3: Assess image quality using a factory, not custom, preset.
Assumption 6: The reported problem follows the probe.
It seemed not to, based on our initial conversation. If a side-by-side comparison just isn’t possible, another solid tool would be to…
- Test the probe on a different, but identical, system console and…
- Determine: Does the reported complaint follow the probe
- Same rules as above still apply, phantom usage, factory preset, and same system settings
The challenge in this scenario may be locating an identical system. Probe models do cross scanner models, but not all scanner models provide identical system settings, available presets, or level of image quality (example, GE Logiq S8 and Logiq E95). Both systems may support the 9L-D probe, but the image displayed by the same probe model, on the two different system models, may be inconsistent. The image may be consistent between the E95’s but may not be consistent between differing scanner models (GE Logiq S8 and Logiq E95).
Rule 4: Test the probe on a different, but identical system console: Verify that the reported complaint follows, or remains with, the probe/system
What do you believe to be the root cause? Send your answers (or questions) to training@innovatusimaging.com
Test your ultrasound IQ
When troubleshooting image quality issues (or to test your ultrasound IQ), remember the following rules:
- Always use a phantom to assess image quality
- Be sure to assess image quality using a factory preset
- Perform a side-by-side image quality comparison using identical settings
- To rule out a probe/system issue, verify that the reported complaint follows, or remains with, the probe/system
What we’ve provided merely scratches the surface and helps to establish a strong foundation for troubleshooting basic image quality concerns. The team at Innovatus Imaging has authored multiple how-to guides for assessing image quality, troubleshooting, and for performing quality assurance assessments. All are available, at no-charge, in the Resources section of our website.