The Importance of Periodic Visual Inspections of Ultrasound Probes
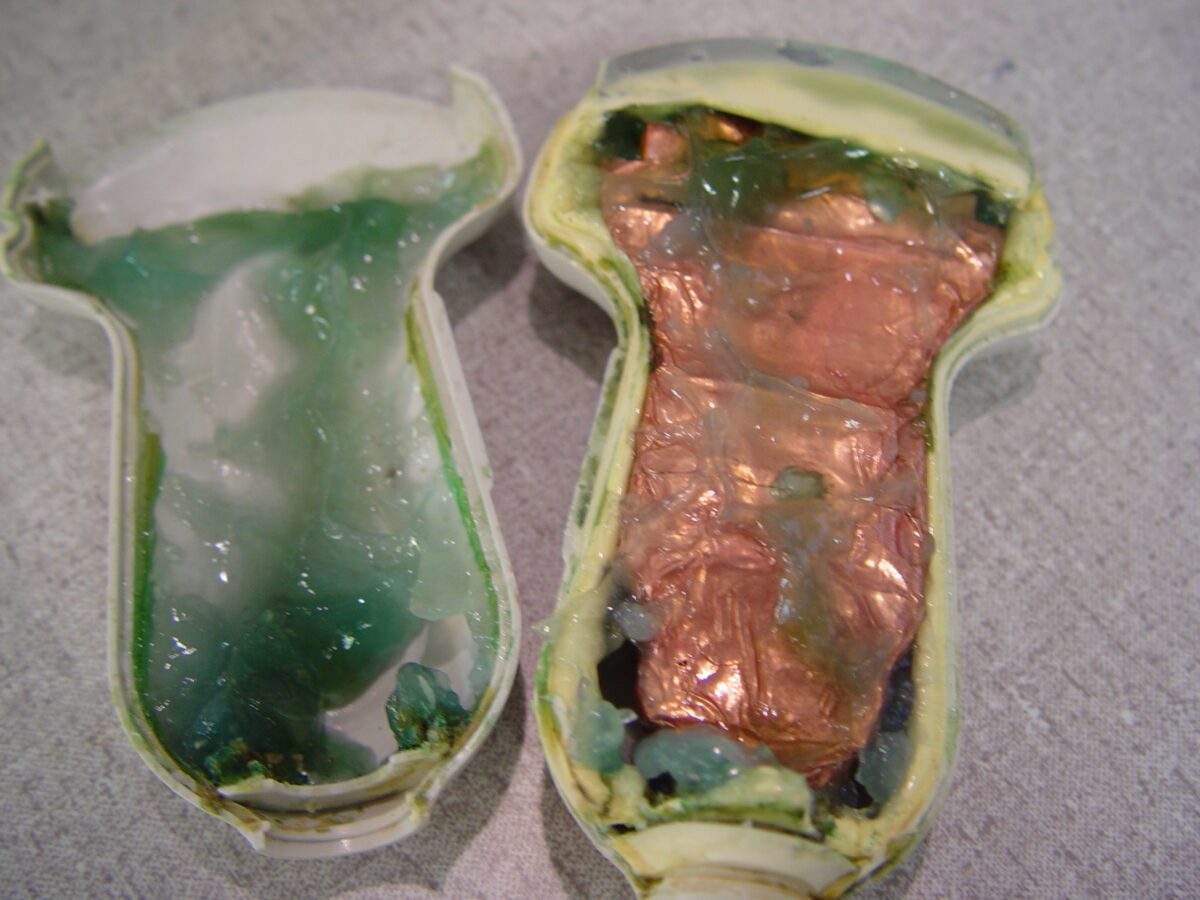
You may be surprised to learn that many of the probes evaluated at our Ultrasound Center of Excellence have failed as a result of preventable damage. A significant portion of those probes have experienced failures as a result of indirect chemical or fluid intrusion at the scan head. Most would agree that no one would ever purposely expose an ultrasound probe to damaging chemicals or somehow allow fluid to gain access to delicate electronics. This post addresses the importance of periodic visual inspections of ultrasound probes.
The truth is, items, such as seams, seals, acoustic lenses, and strain reliefs will experience wear and will degrade as a natural result of repeated exposure to chemicals such as gels, cleaners, and disinfectants. Even OEM approved chemicals have the potential to have long-term affects to these components. Using a chemical which is not approved by the OEM or using an OEM approved chemical improperly can result in highly varied long-term effects and may even result in some in the short-term.
Example
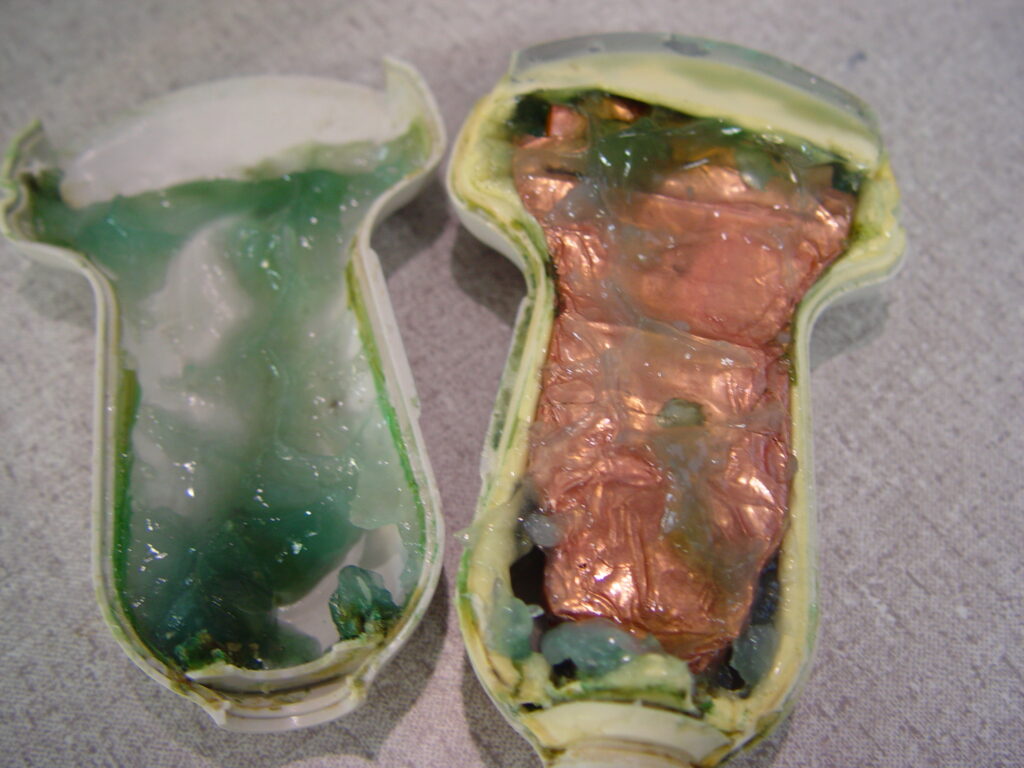
The seams, that join the various sections of a probe housing will, over time, begin to separate leaving very slight openings. The seals surrounding the acoustic lens will eventually deteriorate resulting in potential points of entry for foreign substances. Once a seam or seal has been compromised, chances are that every time the probe is subsequently wiped down or exposed to some type of liquid or gel, some of that chemical will find its way inside of the probe.
Fluid entry can lead to a multitude of problems, some being hard failures and others resulting in performance degradation over time. When it comes to ultrasound probes, it’s hard to find an OEM that does not recommended that end-users, specifically sonographers, visually inspect each probe prior to each use. That being said, OEM’s differ on their messaging, where that messaging is located, exactly what should be inspected, and what defines good versus bad. It’s also up for interpretation as to, just how bad is bad and what are the repercussions of using a probe with, what may appear to be, only minor cosmetic issues.
There really is extremely strong value in performing frequent visual inspections. From a cost perspective, resealing a lens or a probe housing may only cost a few hundred dollars. Contrast that to having to repair complex electronics, replacing the acoustic array or even the entire probe at a cost of thousands. Although over 200 years old, Ben Franklin’s quote still proves true in today’s digital world. “An ounce of prevention is better than a pound of cure”.
Special Note
Repairs made to ultrasound probes need to be performed using adhesives and materials consistent with the OEM design and must be ISO 10993 compliant. However simple the process may seem, repairs should not be made using standard, over-the-counter type, sealants and adhesives.
The responsibility of visually inspecting each probe does need to fall upon the sonographer or end-user, but it is that of the service engineer to advocate for its happening. In our experience, we found that very few sonographers actually inspect their probes daily, weekly, or even semi-annually. Inspections are usually left to the service team in Clinical Engineering or the OEM during the annual or semi-annual PM check. Even semi-annual inspections may not be frequent enough to identify the little things that can lead to costly failures. Partnering with end-users and taking the time to educate them to the why’s and what-if’s is the key to reducing costs.
Engaging End-Users
At Innovatus, our plan for success begins with engaging the individual department managers. We explain the concepts and benefits of prevention and early detection and show the potential savings and how it can contribute to lowering overall service costs for the facility. Next steps involve attending a weekly, or monthly, department meeting, explaining the concepts to the staff. We’ve created a visual inspection guide that provides examples of what sonographers should be inspecting and centers on the what-ifs. Spending just 5 to 10-minutes raising awareness and educating end-users builds a reliable partnership. Posting the visual inspection guide in each scan room helps to keep the concept top-of-mind.
One success story comes from a customer who made it department policy that a different sonographer would inspect every probe in their department every Friday. If something of interest was identified, such as a worn lens or damaged strain relief, the sonographer would have Clinical Engineering take a closer look. If deemed severe enough, the engineer would arrange for a loaner and send the probe in for repair. Over time, that department began to have fewer and fewer costly, catastrophic failures.
Resources
We’d encourage readers to download our visual inspection guide for standard probes in the Resources Section. The guide is also available in hard copy on heavy stock, upon request, which is ideal for posting. We’d also invite you to have us host a quick webinar for your end-users where we’d talk live and provide a live demonstration on Visual Inspections of Ultrasound Probes. Let us help you lower your bottom line and increase the lifecycle of your ultrasound investment. For more information or to arrange for a live demo or webinar, reach out to TedL@innovatusimaging.com


