
Root/Cause analysis of noise artifacts in diagnostic ultrasound images
Ted Lucidi, CBET
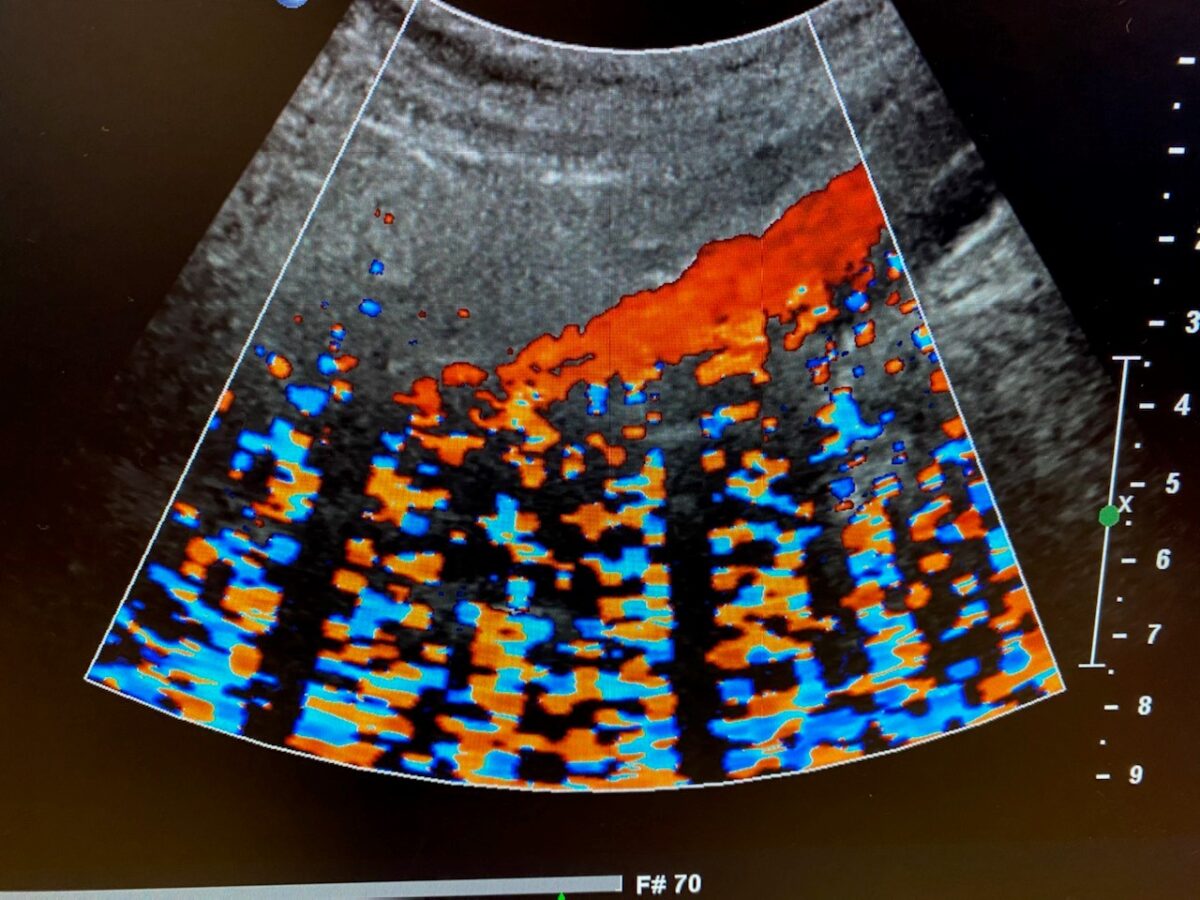
Our last post , What’s That Noise: Part 1, discussed the issue of EMI, RFI, environmental noise, whatever your preferred terminology and how it can negatively affect image quality in 2D and color Doppler ultrasound studies.
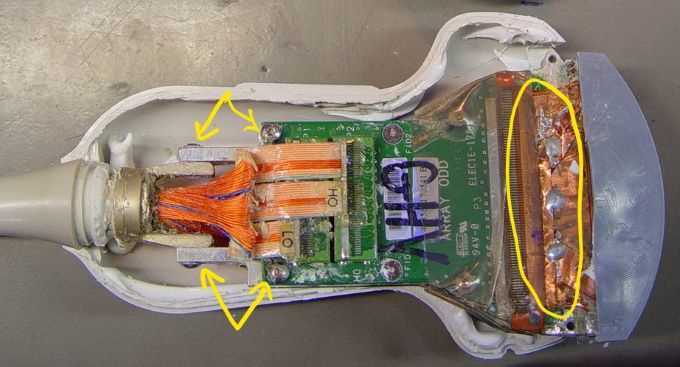
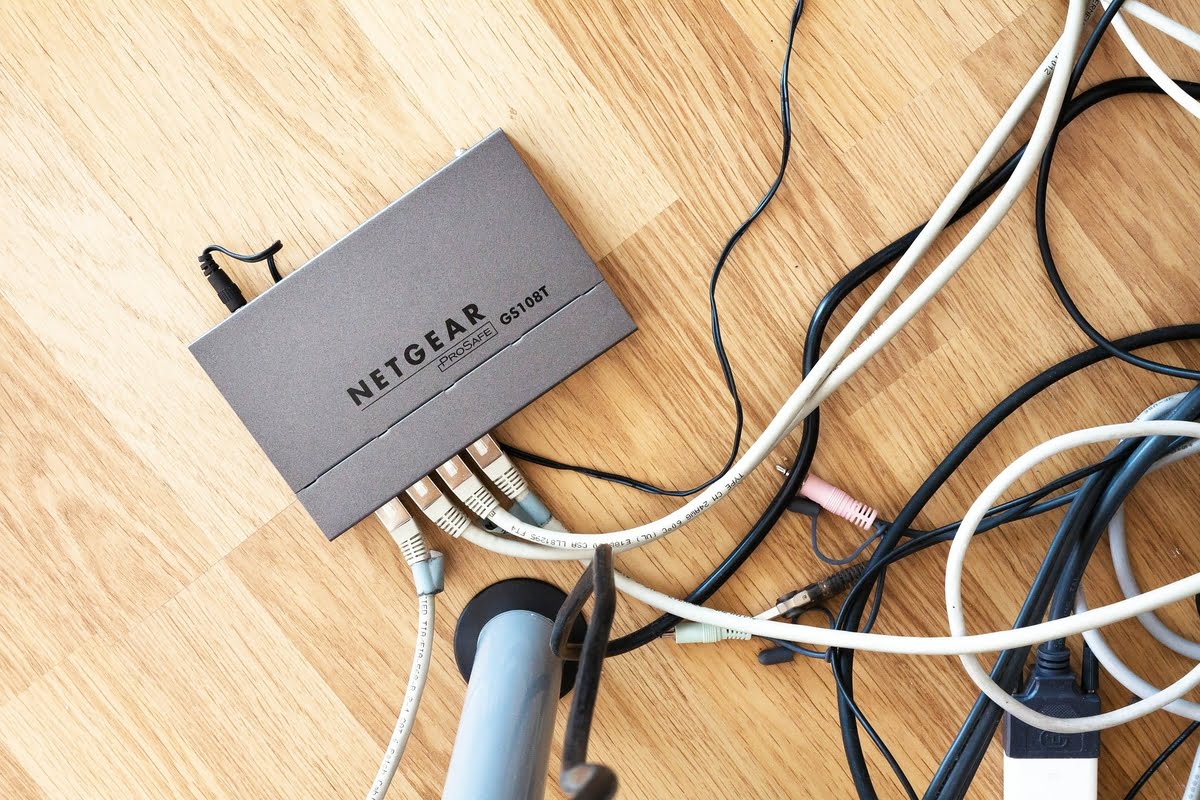
Since 2000, Innovatus Imaging has successfully repaired over 195,000 ultrasound probes. As part of our data-driven repair processes, we track and trend data such as reported problem, modes of failure, root cause, corrective action and where the failures occurred in the product lifecycle. A percentage of probes, every month, are reported as experiencing noise artifact. With a high degree of confidence, we can say that less than 10% of those probes have failures affecting noise sensitivity. Of the fractionally small segment of reported issues which were probe-related, failures to the shielding were the primary root cause. Examples are:
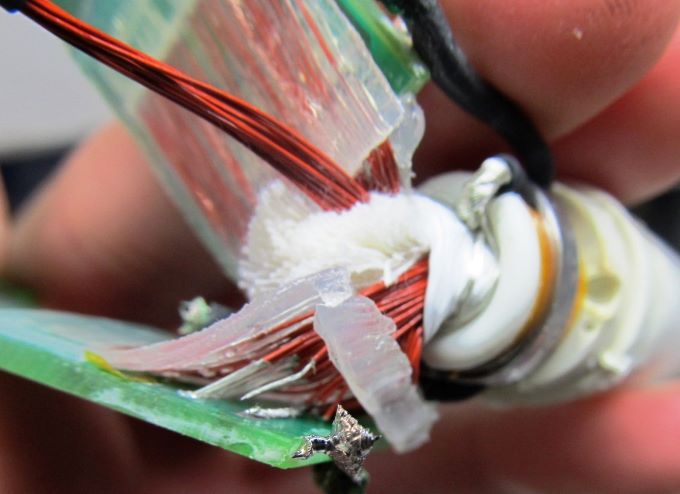
- Assemblies designed to secure braided shielding have loosened over-time.
- Set screws, securing shielding within the handle of a TEE probe, have loosened.
- Accidental cable pulls have broken braided shielding from an internal ground plane within the connector electronics or scanhead electronics.
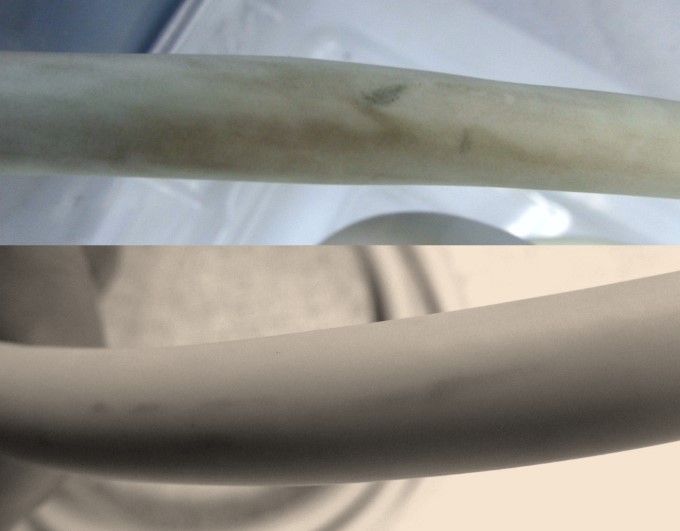
- Cable roll-over damage has compromised the integrity of the braided shielding within the wiring harness.
- Trauma to the scan head has broken solder joints of copper shielding surrounding the scanhead electronics and acoustic array.
That leaves greater than 90% of the reported noise artifact issues being related to other factors. Following are some scenarios that my colleagues and I have experienced in our 20-some years in the ultrasound industry.
💻 1-month of troubleshooting, numerous probes swapped/replaced, scanner hardware replaced and noise artifact persisted when using a single probe model until someone disconnected the Ethernet cable from the rear of the scanner
- Root Cause: A faulty network cable was acting as an antenna and created a pathway for excessive RF noise.
- Solution: Replacing the network cable resolved the problem.
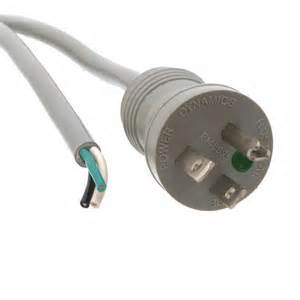
📺 Every time scans were performed in a certain area, noise artifact was present when using a select few probe models. When used in this area, the system was connected to an external monitor via an external video cable.
- Root Cause: Visual inspection of the video cable revealed roll-over damage which damaged the braided shielding.
- Solution: Replacing the cable (or disconnecting the video cable from the scanner) resolved the problem.
🕧 1-month of troubleshooting, numerous probes swapped/replaced, different scanners swapped into the same location and still, noise artifact appeared sporadically throughout the day, yet consistently each day:
- Root Cause: 1-floor above the room where the scans were being performed was a break room. Every time the microwave oven was activated (during break times), noise appeared in the scan image.
- Solution: The microwave was replaced and the problem resolved.
☀️ Multiple months of troubleshooting noise artifact issues at a small outpatient clinic located in a hot, dry, arid location: Although the system and probes were in ideal condition and the power cord resistance was within tolerance, the issue persisted.
- Root Cause: Poor quality earth ground: Only when water was allowed to moisten the soil, where the ground wire of the electrical panel was sunk to earth ground, did the problem resolve.
🛗 3-months and numerous TEE probes swapped/replaced due to intermittent image noise when performing scans in a certain area of the facility:
- Root Cause: Behind a wall, in the area where the scans were performed, was an elevator shaft. Every time the elevator passed-by and a scan was taking place, noise appeared in the middle of the image. The issue only occurred when using a TEE probe.
- Solution: The elevator motor was replaced, and the problem resolved.
☎️ 8-service calls spanning 2 months, until by chance when the service engineer was present, a land line phone 30-feet from the scanner rang, and induced noise artifact:
- Root Cause: Every time the phone rang, noise artifact was observed (and only when using one probe model). Other probe models functioned without issue.
- Solution: The phone was replaced, and the problem resolved.
All strange, but very true scenarios relating to Root/Cause analysis of noise artifacts, yet NONE were related to a failure within the probe.
The vast amount of data that we have acquired, combined with the scenarios presented above, suggest that there are multiple variables affecting noise susceptibility within ultrasound imaging and only a small amount may actually be probe related.
One final story:
⁉️ In one instance, a customer experiencing intermittent noise artifacts sent their TEE probe in for evaluation and our teams could not duplicate the issue. Over the course of several months, the customer was provided with 3 loaners and all reported to experience intermittent noise artifacts. Unbeknownst to the customer, Innovatus purchased a factory-new probe and sent it as a 4th loaner. Not surprisingly, that probe was reported to present intermittent noise artifact.
- Root cause: Unknown, but not the probe
- Solution: Unknown
The teams at Innovatus Imaging understand the challenges with which service engineers and end-users are presented. The leaders at our FDA-registered Center of Excellence for Design and Manufacturing are well-respected subject matter experts in transducer design. Our technical and clinical support team members, each, possess decades of experience in the modality. We continuously support our customers through free evaluations, complimentary technical support, no-charge next-day loaners and, if needed, on-site consultation.
Comments 2
Hello,
I am retired but worked in ultrasound from 1983 to 2016, when I retired. The last 15 years of my career I worked as an applications specialist for a major manufacturer. I had one account that had a terrible noise issue. The machine had been moved into a different room and only after the move was there an issue.
It as I best recall, it only appeared when a specific transducer was use, an endovaginal transducer. It only appeared when the transducer came in contact with the patient. The artifact was displayed as diagonal lines that scrolled up the screen.
After days of working with the service engineer. He came to the conclusion that the artifact was caused by the close proximity to a Cellular tower that was situated less than a 1/2 mile away from the office building and was visible from the window of the ultrasound room. We exhausted other possible sources of the noise, like coffee makers, micro waves, radios, other medical equipment, and there was no surgical suites in the vicinity.
Ultimately, they had to move that machine to another room.
Author
Thanks for sharing your experience!I believe that these types of issues are the most challenging to solve.