

By Ted Lucidi, CBET
Our last post focused on strategies that HTM professionals could use to extend the lifecycle of their MRI coils. This post is on end-user contributions that can affect uptime. As an imaging service engineer for 20-years, I’ve learned that clinicians, technologists and other staff play a critical role minimizing service costs and maintaining uptime. Often times, the secret to extending coil longevity is just down the hall.
I was amazed that 3 different imaging departments/facilities, having very similar equipment, could experience such very different points of failures. One department experienced almost zero failures in a six-month time period, while the second had multiple devices with accelerated wear and the third having an unusual number of devices with physical damage. I worked with department/practice managers and reviewed the types of failures. Together we presented findings in informal staff meetings, discussed how they could be minimized and developed strong working relationships to affect uptime and longevity.
Following are some best practices to help your end-users lower repair frequency and increase uptime for MRI coils:
Visual Inspections
Most OEM’s recommend that technologists inspect EACH coil before EACH use.
- The entire (and all housings) and accessories should be assessed for cracks, fractures and impact marks.
- Cables and strain reliefs should be examined for cuts, major abrasions, roll-over damage, evidence of pulls and exposed wires.
- The connector(s) should be inspected for cracks, missing pieces and bent and/or missing pins.
- Any concerns should result in removing the coil from service.
Transportation practices
It should never be assumed that MRI coils, especially multi-piece, have been stored properly by the prior user.
- It’s a best practice to transport (any distance) by firmly gripping the coil and supporting it from the sides/bottom.
- Coils should never be picked up from a single section. When transporting coils between rooms, the use of a cart is highly recommended.
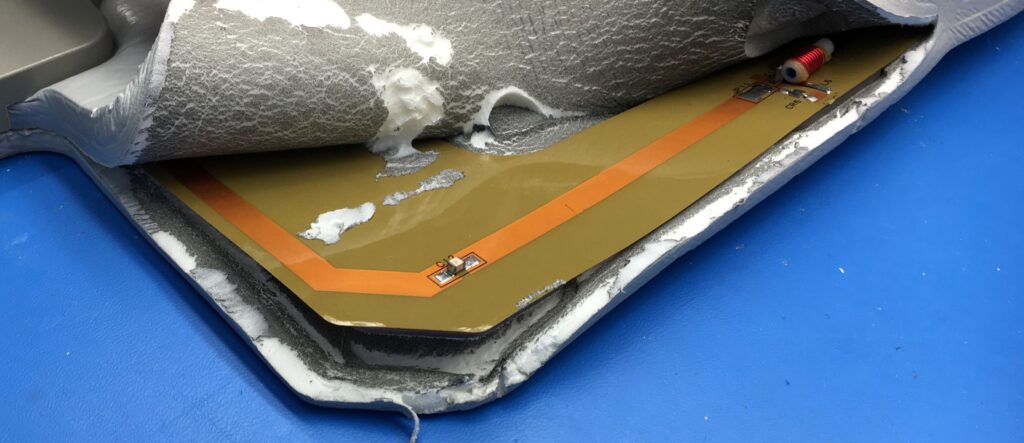
- Flex coils should always be cradled from the bottom, gripped at the center housing or carried by the designated handle. Flex coils should NEVER be carried by the flexible portion, as there are sensitive components contained within that can be damaged by doing so.
- No medical device, including MRI coils should be carried or moved by the cable, as strain relief, cable sheathing, wiring harness and component damage could occur.
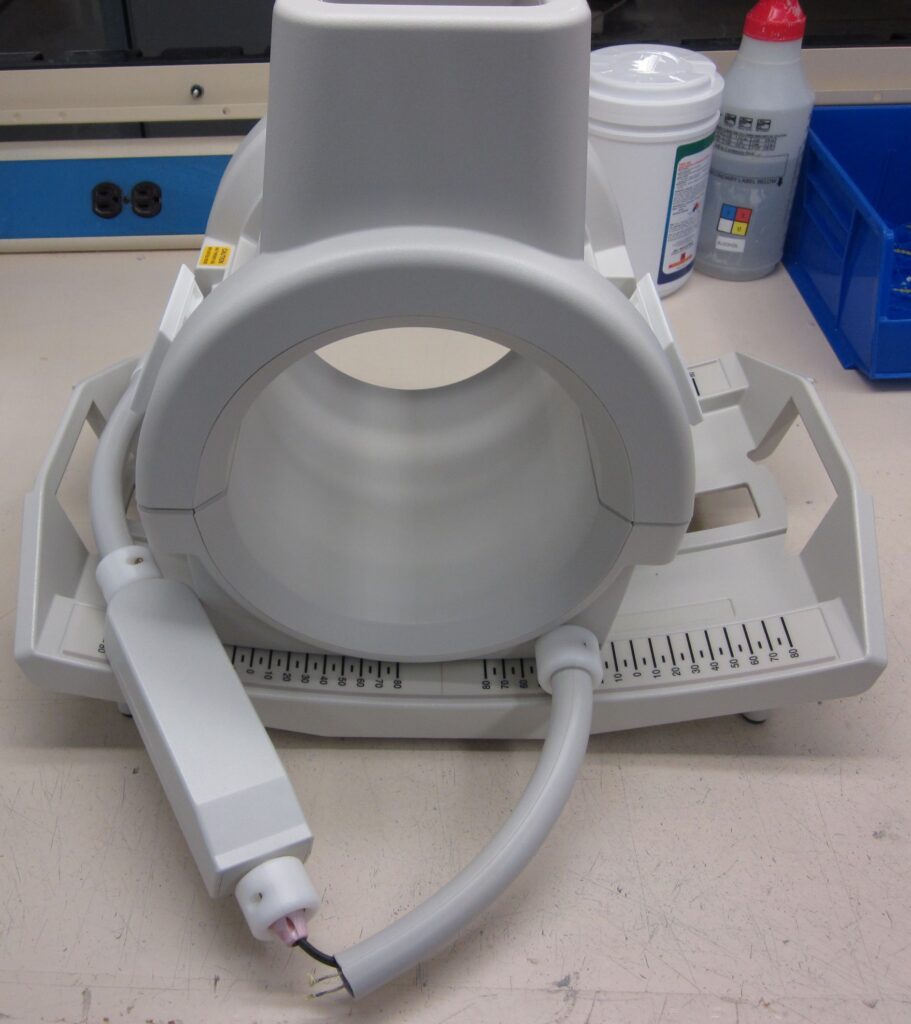
Patient placement practices
- When attempting to scan with a flex coil, NEVER attempt to adjust the position of the patient by using the coil as it may cause both physical and internal electro-mechanical damage.
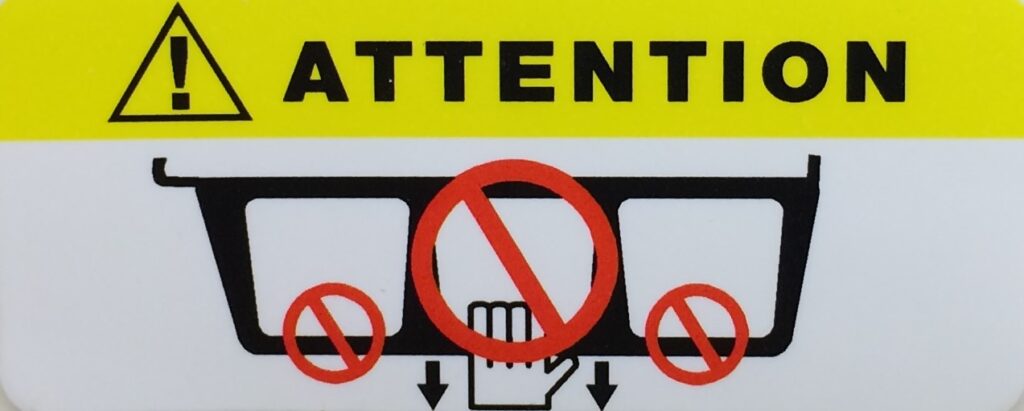
- For multi-piece coils, such as a head coil, the anterior portion should always be removed by pulling STRAIGHT-UP. If the anterior is removed at an angle, the fragile connections between the various sections could easily become damaged or undergo premature wear.
Cable routing practices
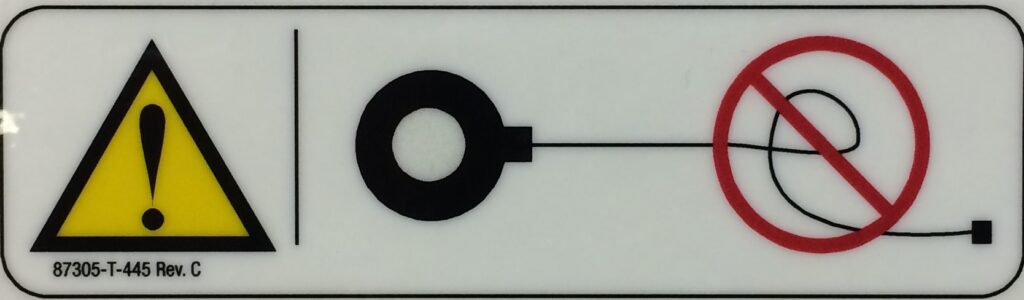
- Based upon the specific coil, it is possible to induce image artifacts based upon cable placement. It’s a best practice to NOT loop or cross the cable when in use. Looped cables may cause RF coupling issues and may degrade image quality.
- Some of the individual wires with the cable sheathing are actually very fine.It’s important to NOT permit the cable to be bent at extreme angles. Route the cable using soft angles as to not damage the internal wiring.
- Another best practice is to be sure that the coil is unplugged prior to lowering the table. Failing to do so may damage the coil, cable or connector and would typically NOT be covered under the OEM warranty or service contract.
Cleaning practices
OEMs spend considerable time developing lists of approved cleaning agents.
- ONLY follow OEM guidelines and ONLY use OEM-approved cleaners and disinfectants.
- Using an unapproved cleaning agent or using an OEM-approved cleaning agent improperly can void the warranty as well as disqualify coverage under a service contract.
- It’s a best practice to detach the coil from the scanner before attempting to clean it and it’s also important to NOT submerge, pour or spray a cleaning agent directly on to the coil as internal circuitry could be damaged.
Storage practices
OEMs provide recommendations for coil storage in their user and/or installation manuals. It’s a best practice to ensure that all the various housings/accessories are fully and firmly attached to one another, that all latches are firmly secured and that good cable management practices are employed.
From employing good cable management practices to using the correct cleaning product/practices and reinforcing best practices for care and handling, the secret to extending MRI coil longevity is just down the hall.
In the meantime, check out some of our other content specific to MRI coils. If you missed Part 1 of this series, check it our HERE